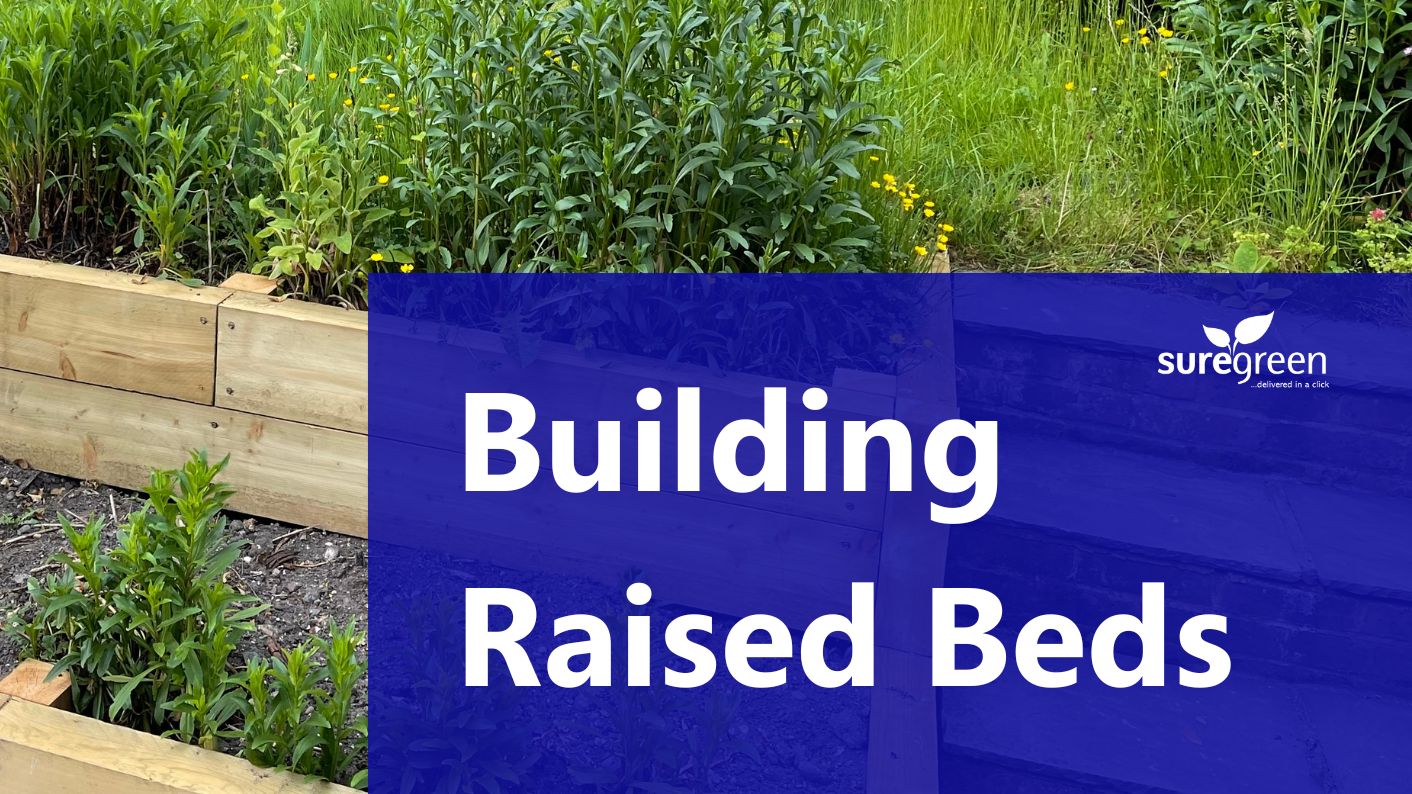
How to Build a Raised Garden Bed with Timber Railway Sleepers
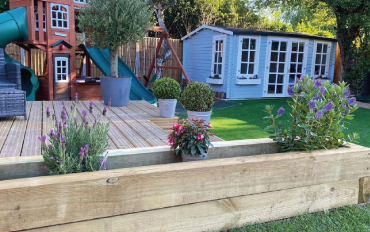
Raised garden beds are an excellent way to grow a wide variety of plants, fruits, and vegetables. They improve drainage, help warm the soil earlier in the year, allow you to control soil quality, and promote healthier root development. Raised beds also make planting and maintenance easier—particularly for gardeners with limited mobility—by reducing the need to bend or kneel.
You can grow almost any plant in a raised bed, and construction can be completed at any time of year using basic tools. Before you start, it’s worth considering:
-
How large your raised bed needs to be and where it will be positioned
-
Which railway sleepers and fixings are best suited to your project
-
Which soil or compost is most suitable for what you plan to grow
This guide walks through each stage step by step, using a practical, DIY-friendly approach.
DIY Railway Sleeper Beds vs Pre-Made Planters
Pre-made raised planters can be convenient, especially for smaller gardens or quick installations. However, they are often limited in size, material choice, and long-term durability—particularly when building larger beds.
Building your own raised bed with timber railway sleepers offers far greater flexibility. You can tailor the size and height to your space, choose the timber finish that suits your garden, and often achieve a stronger, longer-lasting structure at a lower cost. For larger or custom layouts, sleeper beds are typically the more practical solution.
What You’ll Need (Example: 2-Layer 8ft x 4ft Raised Bed)
This guide demonstrates how to build a two-layer raised bed measuring 8ft x 4ft, using:
If you’re working with longer sleepers, these can be cut down to size. Any freshly cut ends should be treated with an end-grain preservative to help extend the timber’s lifespan.
Step-by-Step Guide
1. Choose the Right Railway Sleepers
Railway sleepers are available in several finishes and timber types, each suited to different garden styles and practical needs.
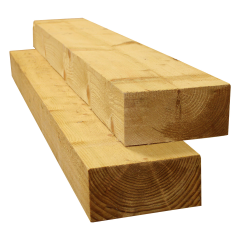
For raised beds, new sleepers are generally recommended over reclaimed sleepers. New sleepers are easier to cut, stack, and secure, and are supplied with straight edges for cleaner construction. Reclaimed sleepers, while visually rustic, can be extremely heavy and more difficult to work with.
If you prefer a weathered appearance without the drawbacks of reclaimed timber, charred brushwood sleepers provide a similar aesthetic with far greater consistency and ease of installation.
You’ll also need to decide between:
-
Pressure-treated (tanalised) softwood sleepers
-
Lighter and easier to handle
-
More cost-effective
-
Treated for long-term resistance to rot and moisture
-
Untreated oak sleepers (hardwood)
-
Naturally dense and highly durable
-
No preservative treatment required
-
Heavier, making construction more physically demanding
Both options are suitable for raised beds—the right choice depends on your budget, preferred appearance, and handling considerations.
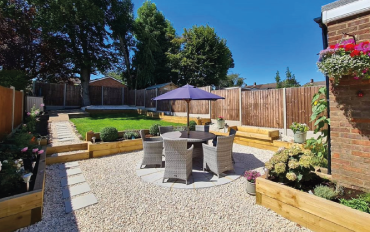
2. Choose the Size and Position
The size and placement of your raised bed will depend on available space and what you plan to grow. If installing multiple beds, ensure there is adequate access between them.
As a general guide:
-
30cm (1ft) minimum for walking access
-
45cm (18in) minimum for wheelbarrows
-
Wider spacing may be required for wheelchair access
Choose a level area where possible, and ensure the bed receives sufficient sunlight for your chosen plants.
3. Lay the First Layer and Fix the Frame
Lay two 2.4m sleepers and two 1.2m sleepers on a level surface to form a rectangle, positioning the narrow edge on the ground.
Sleepers can be laid directly onto soil, grass, or concrete. Some landscapers choose to install a hardcore or concrete base, but this is not essential for most garden beds.
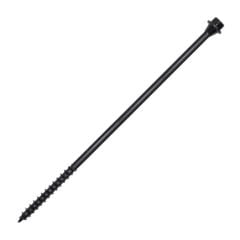
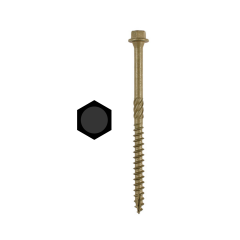
At each corner, use two 150mm sleeper screws to secure the frame. Ensure approximately 50mm of the screw penetrates the adjoining sleeper for a strong, stable joint.
4. Add the Second Layer
A single sleeper layer provides around 200mm of depth, which is suitable for shallow-rooted plants. However, a two-layer bed (approximately 400mm high) is generally preferred, offering better root space and easier access for planting and maintenance.
To add the second layer:
-
Lay sleepers on top of the first frame
-
Stagger the joints in a brick-lay pattern for strength
-
Secure corners first, then complete the frame
Once positioned, use 250mm sleeper screws driven vertically from the top to fix the layers together.
If you want a deeper bed, simply repeat this process. Most plants thrive with a minimum depth of around 150mm, but deeper beds are ideal for vegetables and improved ergonomics.
5. Line the Bed (Optional but Recommended)
Many gardeners line the inside of the raised bed with a membrane to reduce prolonged moisture contact with the timber.
-
Use weed control fabric if the bed sits directly on soil
-
This suppresses weeds while still allowing drainage
-
Avoid fully waterproof liners, which can trap water
6. Fill with Soil and Plant Up
Before filling the bed, you may wish to add a layer of hardcore or cobbles at the base to improve drainage.
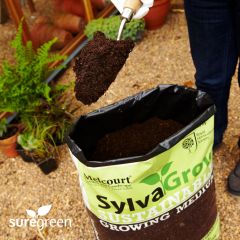
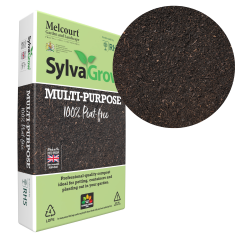
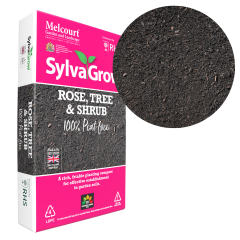
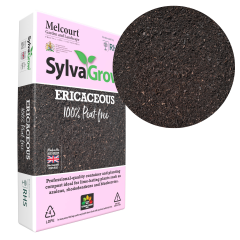
One of the main advantages of raised beds is soil control. You can fill them with compost or growing media that best suits your planting—such as ericaceous compost for lime-hating plants, even if your garden soil is alkaline.
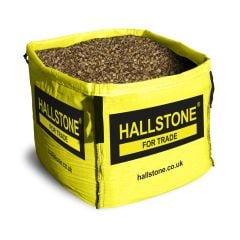
Raised beds can be filled using:
-
Compost
-
Topsoil blends
-
Manure-based growing media
These are available in both standard bags and bulk bags, depending on project size.
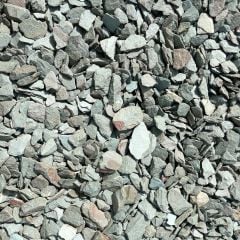
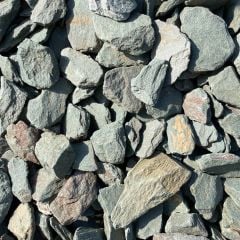
Top tip: Applying a surface mulch—such as bark or decorative slate chippings—helps retain moisture and improves the bed’s appearance.
Useful Fixings & Accessories
You may also find the following helpful when building sleeper beds:
These can add strength or assist with more complex layouts.
Final Thoughts
Building a raised garden bed with timber railway sleepers is a straightforward project that delivers long-term benefits for plant health, garden organisation, and ease of maintenance. With the right sleepers, fixings, and soil, you can create a durable, attractive growing space tailored exactly to your garden

- Sleeper size: 2.4m x 200mm x 100mm
- Lifespan: 8 - 10 years
- Wood type: Softwood
- Treatment: UC3
- SKU: 992954-993081
- Brands: Melcourt
- Size: 40L
- Blend: 100% Peat-Free

- SKU: 992954
- Brands: Melcourt
- Size: 40L
- Blend: 100% Peat-Free
- SKU: 993081
- Brands: Melcourt
- Size: 40L
- Blend: 100% Peat-Free
- SKU: 992992
- Brands: Melcourt
- Size: 40L
- Blend: 100% Peat-Free

- SKU: 871669-999618
- Length: 250mm, 150mm, 225mm, 75mm, 100mm, 125mm, 200mm, 175mm
- Brands: Timco
- Quantity: 10 pack, 50 pack

- SKU: 998192
- Sleeper size: 2.4m x 200mm x 100mm
- Lifespan: Up to 20 years
- Wood type: Oak
- SKU: 998208
- Lifespan: 8 - 10 years
- Wood type: Softwood
- Treatment: UC3

- SKU: 993494
- Lifespan: 8 - 10 years
- Wood type: Softwood
- Treatment: UC3


- SKU: 998246
- Brands: BSW
- Sleeper size: 2.4m x 125mm x 250mm
- Lifespan: 8 - 10 years
- Treatment: Fire
- SKU: 220391
- Size: 500L
- Coverage: 10m2 approx (at 50mm depth)

- SKU: 999366
- Shape: Flat/Angular
- Rock Type: Welsh Slate
- Colour: Blue

- SKU: 999359
- Shape: Flat/Angular
- Rock Type: Welsh Slate
- Colour: Blue
- SKU: 999397
- Shape: Flat/Angular
- Rock Type: Welsh Slate
- Colour: Green
- SKU: 999403
- Shape: Flat/Angular
- Rock Type: Welsh Slate
- Colour: Green
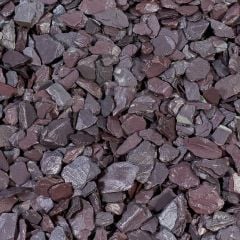
- SKU: 999373
- Shape: Flat/Angular
- Rock Type: Welsh Slate
- Colour: Plum

- SKU: 999380
- Shape: Flat/Angular
- Rock Type: Welsh Slate
- Colour: Plum