

PP40 Installation Guide with Grass
Suregreen PP40 Installation Guide – Grass Finish Permeable Paver with a Grass Finish
Suregreen PP40 permeable pavers can provide a solution to a wide range of trafficking needs. This can include traffic from pedestrians, bicycles, cars, vans, trucks and lorries. The application might be a car park, an emergency access route or wheelchair/disabled access. PP40 grass pavers have been designed, using carefully selected plastics, to meet the demands and loadings imposed across a wide range of end requirements and site conditions.
To ensure PP40 permeable grass pavers operate at their optimum working condition over a long period of time (which could be 20 years or more), they need to be installed correctly as per our guidelines described below.
All Suregreen PP40 plastic paver installations will have some basic requirements to the construction profile. Some component parts of the profile will need to be designed to meet the needs of the client, but the elementary building blocks are the same. Please review our design guidelines for further information.
Download PP40 Grass Finish Installation GuidelinesInstallation steps
Prior to any work on site, it is highly advisable that a site survey – even if only a rudimentary one – is completed. Ask questions such as:
- Will the site drain naturally?
- What slopes - if any - need to be allowed for?
- What type of surface conditions and what type of soils are on site?
- Is the type of soil on the surface the same 200 - 400mm under the surface?
- Will draining water be trapped on a non-porous layer?
Note: If there is a slope of more than 5%, where there is a grass finish requirement, we advise that you get in touch with us for technical advice.
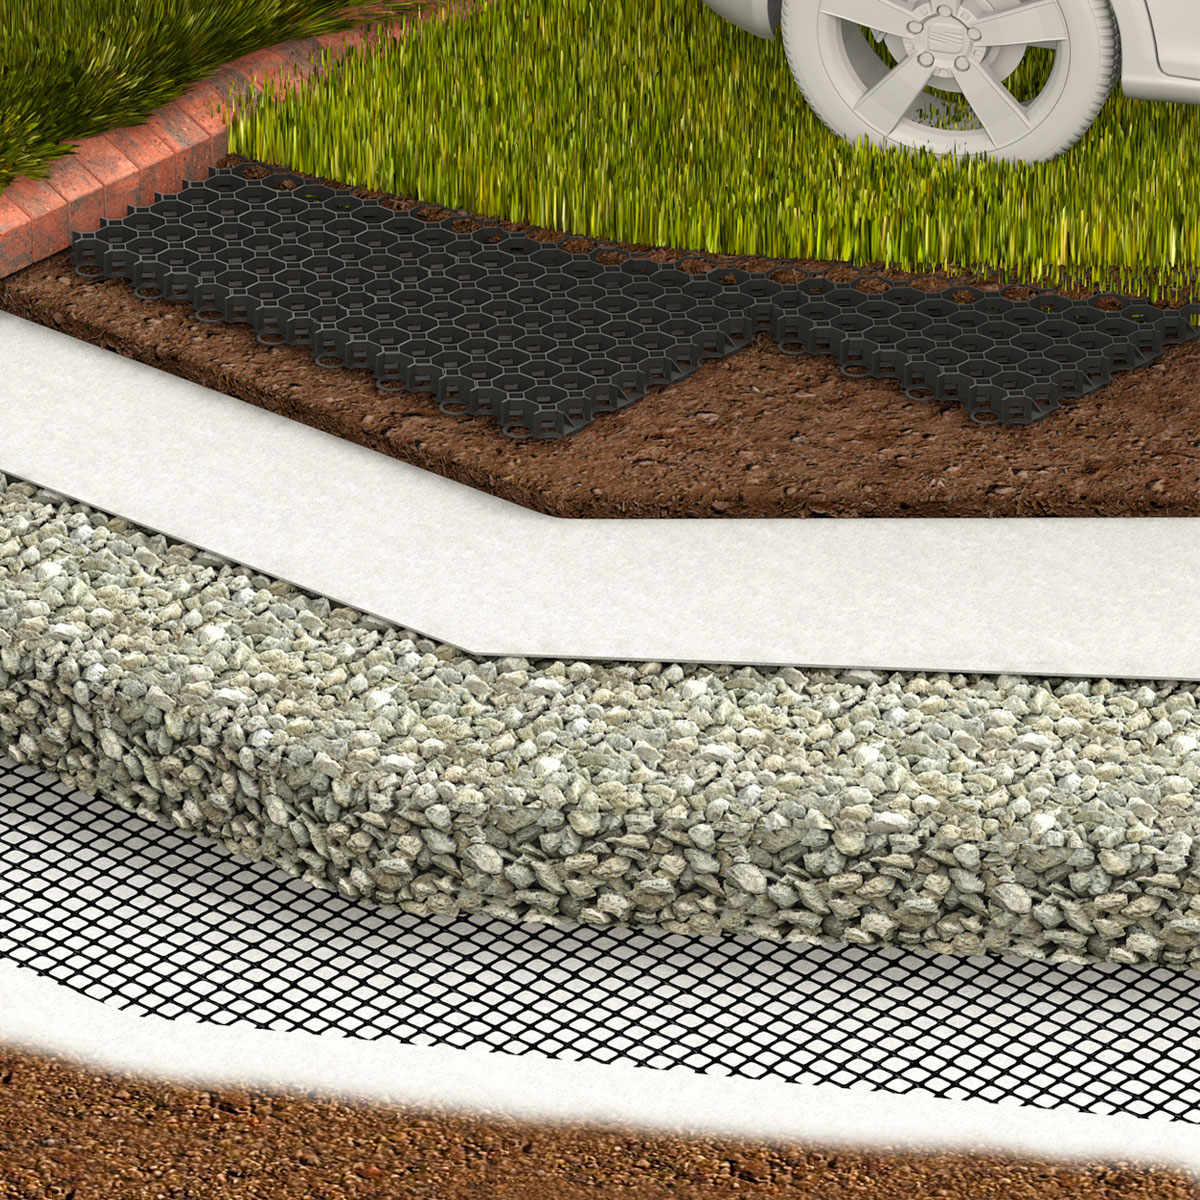
You will also need to consider an edge retention system or kerb of some form, as this is required by PP40 permeable grass pavers. This can be substantial as 150mm x 150mm concrete road kerbs through to treated timber or metal stripping.
There are four basic layers to any construction profile.
1) The sub-grade
The sub-grade is at the bottom of the profile. This is the layer after removal of the existing soils. This soil is removed to the required depth which has been calculated based on the type and frequency of traffic and the ability of the existing soils to handle imposed loadings.
The sub-grade could be as little as 100mm or as much as 500mm below the existing surface. We advise that the sub-grade is compacted - by roller or another method - to create an even working surface.
2) The sub-base layer
On top of the sub-grade, a sub-base layer needs to be installed. The depth of this layer would have been pre-determined (please see our design guidelines). The sub-base should be composed of a free-draining, sharp angular fill material (angular stone/aggregate), 95% of which the particle size is of a mixed nature between 5mm to 45mm (MOT type 3 or similar) with reduced fines content, which would produce a stable and porous sub-base/hard-core after compaction. MOT type 1/crushed concrete would be generally unsuitable because of the high fine content, leading to minimal porosity and permeability. The sub-base needs to be compacted to the required depth.
At the bottom and the top of the sub-base, a geotextile separation layer needs to be installed. The geotextile will stabilise the sub-base by separating/filtering, and this will limit fine material migration into the sub-base while being permeable and allowing water to infiltrate. The fines - if allowed in - would cause eventual deformation/dipping of the top surface and drainage issues.
On top of the bottom layer of geotextile, a 20KN geogrid can be applied to reduce the depth of sub-base used and also reduce the amount of spill caused by works. Please see the design guidelines for further information. Not all sites will benefit from using a geogrid, mainly due to economies of scale.
Notes: MOT type 1 or similar can be used as the sub-base (sometimes it is already on site), but drainage would need to be considered.
3) Bedding layer
On top of the of the geotextile covering the angular stone sub-base construction, a layer of approximately 40mm of 60/40 rootzone sandy soil should be placed and compacted. This bedding layer should be no less than 35mm deep to allow good grass root structure to grow, and no more than 50mm deep after compaction to avoid possibly compromising the structural integrity of the construction profile. The rootzone layer will need to be levelled off to provide an even surface for the Suregreen PP40 plastic pavers to be laid.
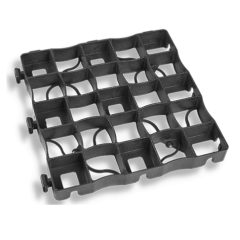
4) Laying the Suregreen PP40
Suregreen PP40 permeable pavers should be laid from above onto the prepared rootzone bedding layer, working from one corner and laying adjacent paving grids into their connectors. PP40 plastic paving grids can be cut on-site using a handsaw, jig-saw or other mechanical saw to match site/client requirements, shapes and obstacles.
5) Filling the Pavers
PP40 pavers should be filled nearly to the top with the rootzone, leaving a gap of approximately 5mm off the top. This layer can be brushed in and not compacted. Overfilling is likely to cause unnecessary compaction of the rootzone when trafficked, leading to bad retention of the grass layer. The PP40 filled surface can then be seeded, fertilised and watered in if necessary. Rolling in turf is not advised.
Notes on Rootzone
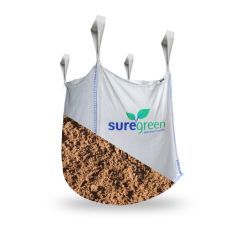
In our experience, using a soil fill of 60/40 root-zone will enable you to achieve the best long-term results and optimum working conditions for the PP40 pavers. Root-zone is a blend of semi-rounded sands of a selected grain size mix and sandy soils. Root-zone is used on most modern sports pitches, golf courses and for horticultural uses. It has good drainage, encourages rapid grass growth and has a good load-bearing capacity.
Notes on grass
When established, the grass will need to cope with trafficking, wet and dry conditions. We recommend a hard-wearing amenity grass seed mix (mini ryes and fescues, for example) for seeding. You will need to consider timescales and when the PP40 grass paver surface is used for the intended trafficking. The area should only be used for critical movements at first. There are two main reasons for this - firstly, if the area is trafficked too fast, the tender young shoots of grass will be easily damaged and the grass stunted or even killed. Secondly, PP40 plastic pavers have been designed to allow the grass root structure to entangle with the pavers' open structure, providing strength and stability to resist the loadings imposed by the trafficking. Time must be allowed to permit this to happen.
The time of year also needs to be considered when sowing the grass, as well as the prevailing weather conditions. A strong, vibrant grass growth is needed and will generally take approximately 6 to 8 weeks in the growing season to become viable for trafficking. Spring and Autumn are the two best times to seed, away from the extremes of heat and cold.To purchase PP40 or any other Suregreen permeable pavers please visit our shop section of the website or click here - Suregreen permeable pavers

Recommended Products
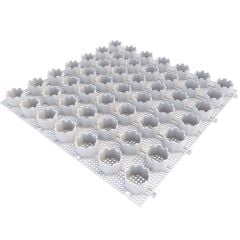
- SKU: 218527
- Thickness: 50mm
- Size: 1 sqm
- Colour: Black
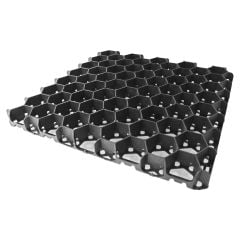
- SKU: 218503
- Colour: Black
- Grid Size: 500mm x 500mm
- Material: Recycled polyethylene
- Depth: 40mm
- SKU: 996525
- Blend: 60% Sand / 40% Soil

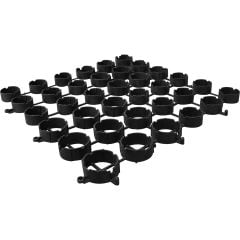
- SKU: 439243
- Thickness: 50mm
- Size: 1 sqm
- Colour: Black
- SKU: 430653-433777
- Thickness: 40mm
- Size: 1 sqm
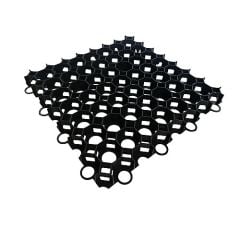
- Colour: Green, Black
- Cell Dimension: 57mm - Hexagonal
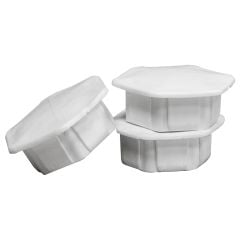
- SKU: 990073
- Thickness: 30mm
- Size: 1 sqm
- Colour: White
- SKU: 991155
- Thickness: 25mm
- Size: 1 sqm
- Colour: Black
